A ski project in the bike posts, but where else to put it!
I grew up snowboarding, but I decided to learn to ski in college after wanting to challenge myself. I also decided that snowboarding on the average ski day (when there’s no powder) isn’t that great, and that I could reap the best of both worlds if I learned to ski.
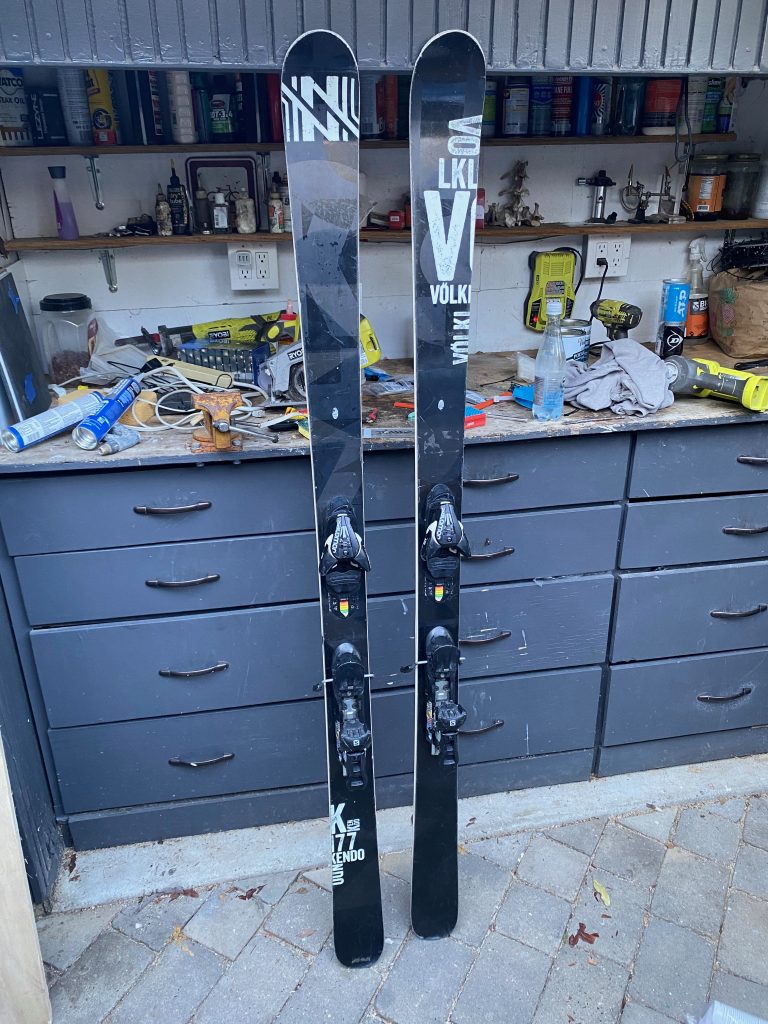
My dad got me a used demo pair of Volkl Kendo’s from Powder 7’s to enable me to ski without a pair of his skis that are a bit short for me. My first season skiing was a shallow year in terms of the snowpack, and let’s just say I hit a lot of rocks. I believe at Mammoth in April 2019, I ripped a 1-2 inch section of edge completely off the ski on one side under my foot. I blew out one of the edges on the other ski also under my foot. With some core shots and plenty of deep base gouges, the ski shop I brought them to said the skis were shot.
The next season, I bought a pair of Black Diamond Helio Recon 105’s with frame touring bindings to start my very short journey in backcountry skiing, and the Kendo’s were hung up to perhaps become a shot ski in the future.
When I bought my 105’s I ignored everyone’s advice to go narrower, as I thought I’d want some decently wide skis for getting into the thick stuff. Turns out, having narrower skis is nice, and even better, having two pairs of skis, one narrower, and one wide, is even better. Fast forward to 2024 – I had forgotten about the Kendo’s until rummaging around in the bike shed one day, and I thought huh, maybe these are ressurrectable.
I did some research online, and it turns out they were. It made sense for the ski shop to say they were shot – it would be a lot of effort to bring them back to life, and some would say it wouldn’t be worth it.
After figuring out the plan of action, I ordered the materials: a replacement edge, metal grip, ptex, epoxy, base material, and an edge sharpener.
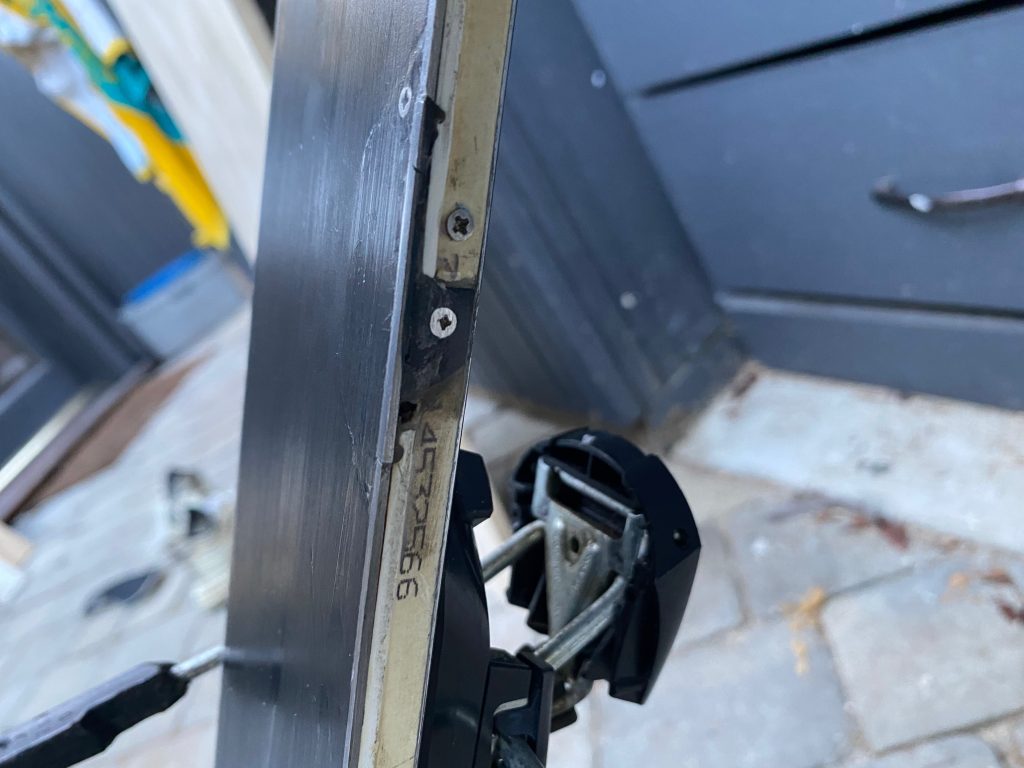
I started by cleaning the skis deeply. I cut away a section of the base around where the new edge would go as I saw in the guides I was following. The ski base was pretty thin, so I decided it wouldn’t make sense to adhere a new slice of base material that was of full thickness to the core of the ski, but rather patch the missing spots with metal grip and ptex. I made the existing edge boundaries cleaner with an edge grinder, cut the new edge the length also with the grinder, and put a couple of screws into the core to put it in place. I epoxied the rest of the edge and let it sit overnight.
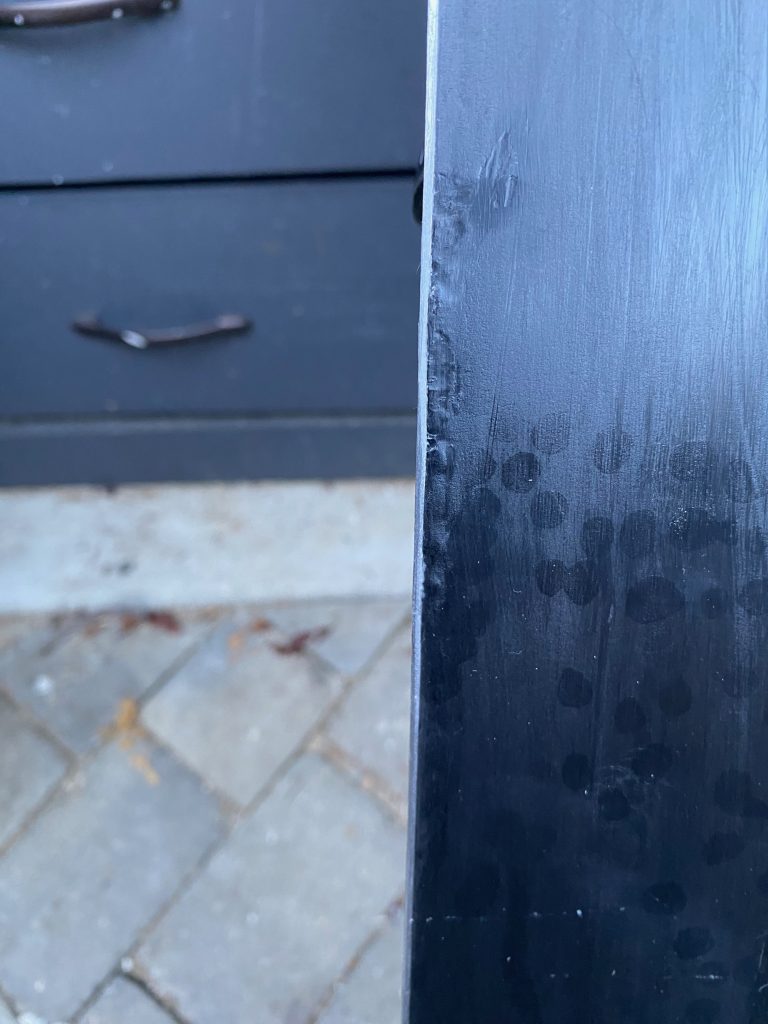
A piece of the side of the ski went with the section of edge that was ripped off, and this side portion of the ski directly supports the edge. I decided to 3D print a chunk and drill / epoxy it into place and fill in the gaps with ptex and epoxy.
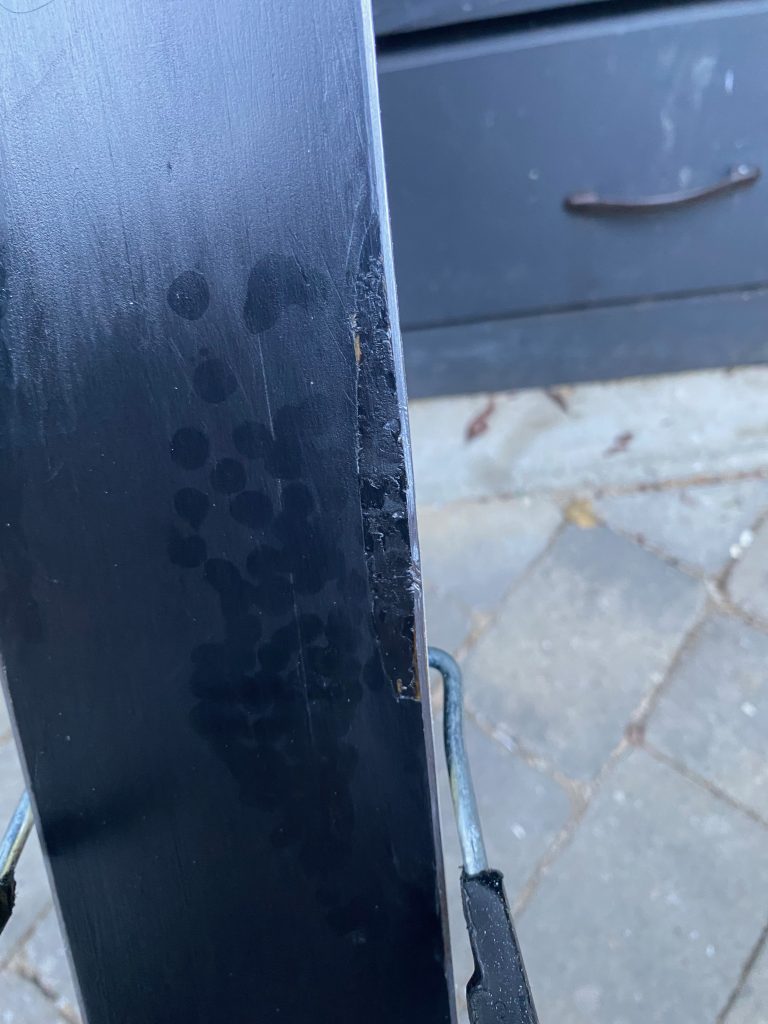
I filled in the missing base with ptex first via lighting it with a candle. The first time I skied on it, it basically all came off. So after that, I metal gripped it in place. Instead of using a soldering iron tip to melt it and mush it into place for most of it, I used a heat gun to heat up the metal grip and melt a layer into place. I ground the metal grip and edge down to where it needed to be with a sander.
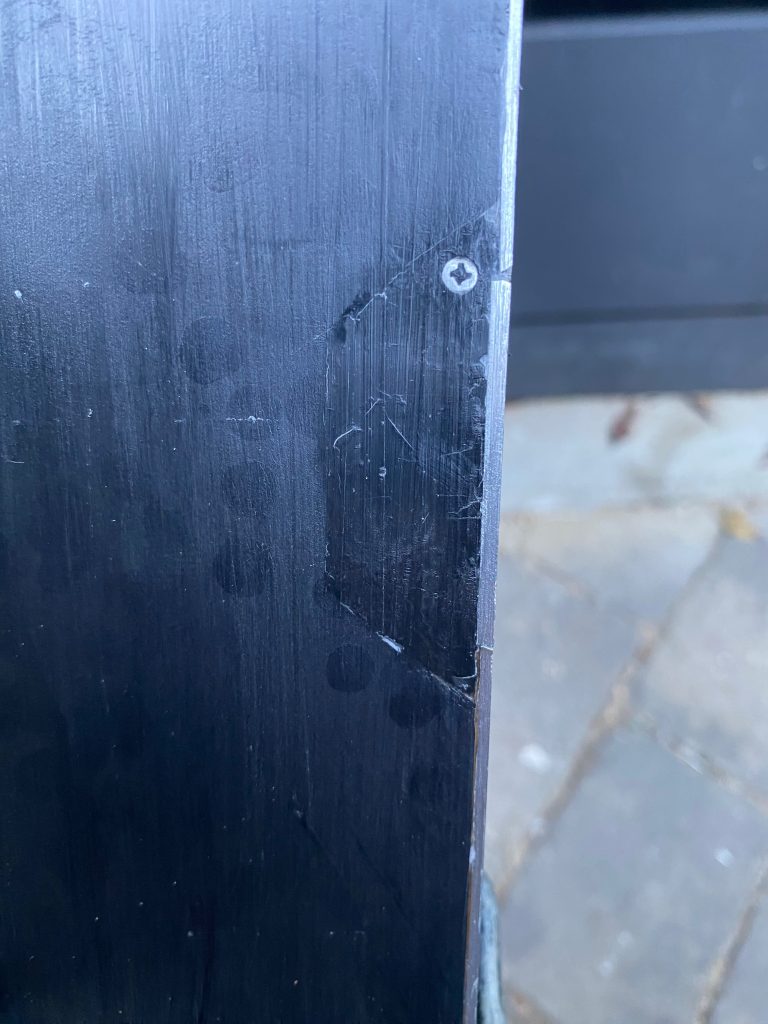
I put a screw in the side of the other ski where the edge was blown out and used epoxy to help hold it all together. I metal gripped and ptexed the rest of the core shots and gashes as best I could, and I decided to bring it to a shop to put it in a planer and wax it.
The shop I brought it to said that the slight gap between the replacement edge and the original edge created a lip that might cause the ski to get caught in the planer. Again, no help from the pros for my project. I decided I’d make it out okay without a planer, bought a wax iron, and waxed my skis before my first day out on these puppies.

I skied on the Kendos most of the 2024-2025 season, exclusively at Palisades and Alpine Meadows. They held up great!
Leave a Reply